Embarking on the journey of creating a makeshift studio in your home is a game-changer for video content creators aiming to boost the quality of their productions on a budget. This guide is dedicated to walking you through the essentials of carving out a dedicated space within your abode, focusing on optimal space utilisation, backdrop creativity, and acoustic management. With a sprinkle of ingenuity and a dash of DIY spirit, you can transform an ordinary room into a versatile video production studio, significantly uplifting the visual and auditory appeal of your content.
Choosing the Right Space
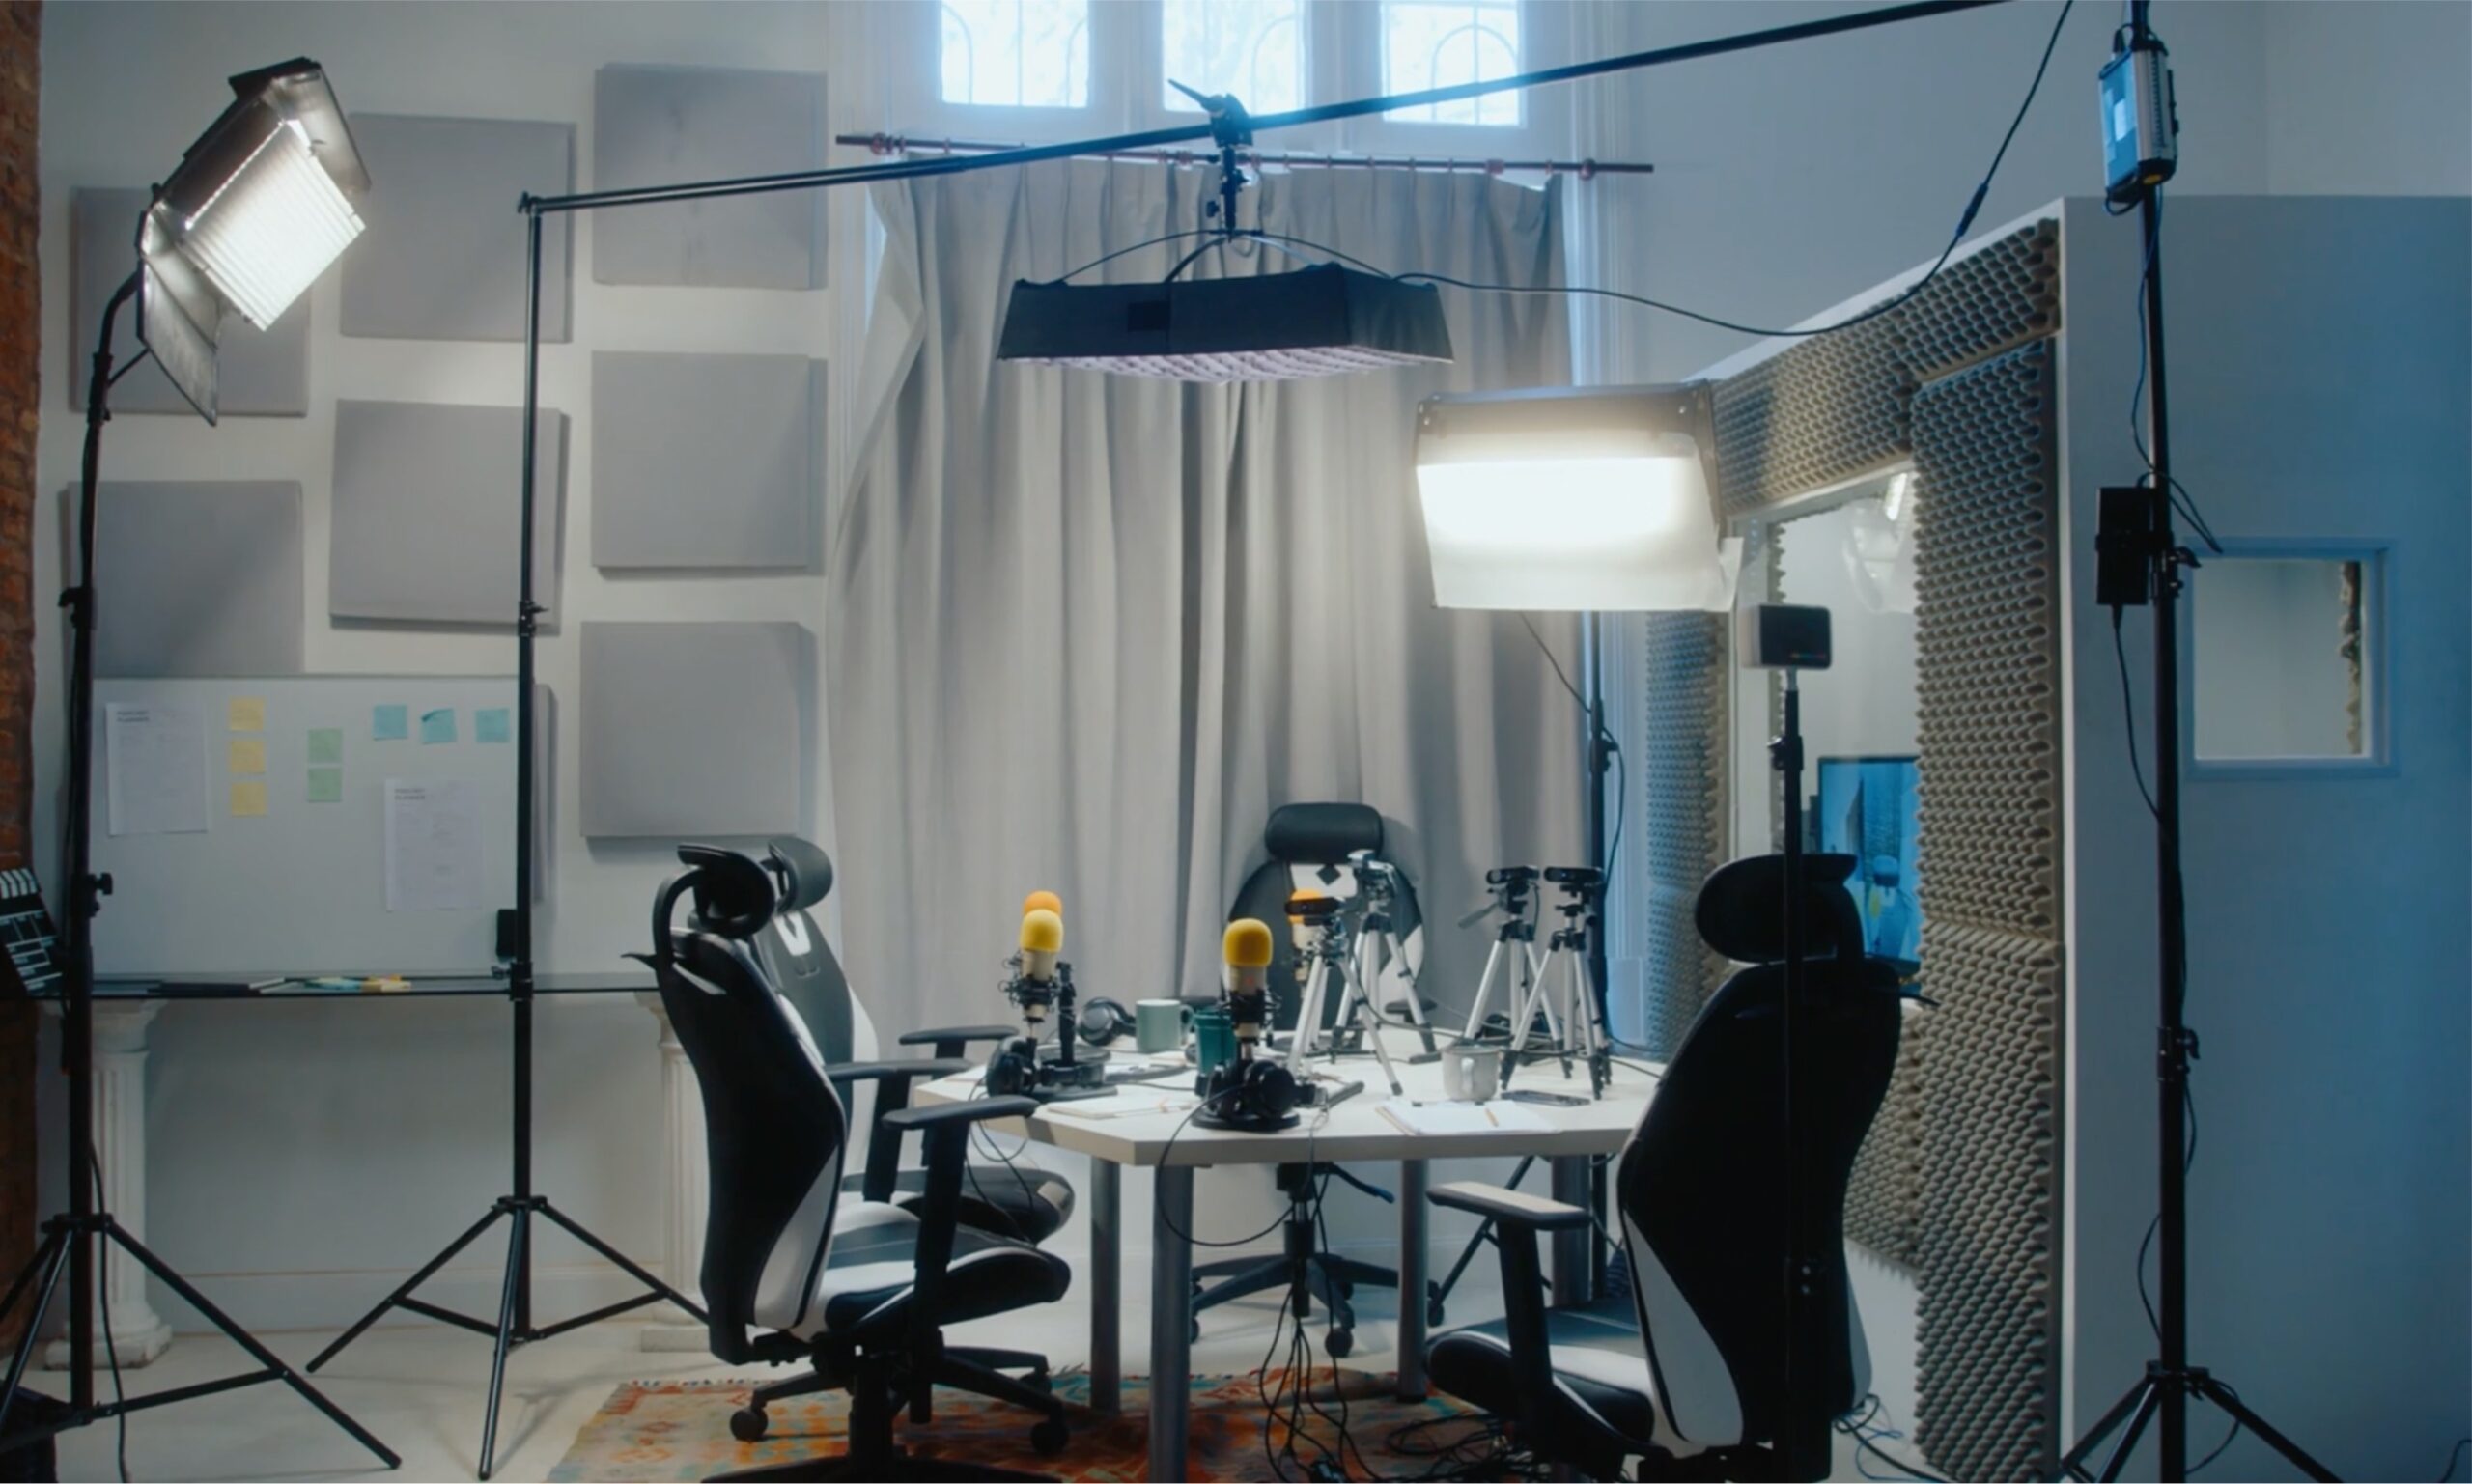
The first step in setting up your home studio is selecting the appropriate space. Ideally, you want a quiet area with minimal external noise and enough room to accommodate your equipment and allow for different shooting angles. Look for spaces with good natural light, although this can be supplemented with additional lighting setups. A spare room, a quiet corner of a living room, or even a cleared-out section of a garage can serve as suitable locations.
Creating a Professional Backdrop
A clean, uncluttered backdrop is key to professional-looking videos. You can achieve this in several ways:
- Use a Solid Colour Background: A simple and effective solution is to hang a plain sheet or use a large piece of seamless paper. Choose neutral colors like white, gray, or black for a classic look.
- DIY Backdrops: For more creative backdrops, you can use fabrics, painted canvases, or even construct a faux wall that you can decorate according to the theme of your videos.
- Portable Backdrop Stands: These stands are versatile, allowing you to switch between different backdrop materials easily. They’re ideal for content creators who produce various types of videos.

Managing Sound Quality
Good sound quality is as important as visual quality. To minimise external noise and echo:
- Use Rugs and Carpets: Soft materials absorb sound, so consider laying down rugs or carpets in your studio area, especially if you have hard flooring.
- DIY Sound Panels: Constructing your own sound panels with acoustic foam and fabric can significantly reduce echo. These panels can be mounted on walls or even placed on stands around your recording area.
- Close Windows and Doors: This may seem obvious, but it’s crucial to minimise outside noise by closing windows and doors during recording sessions.
Lighting Your Studio
Lighting plays a critical role in video production. While natural light is beneficial, relying solely on it can be limiting. Invest in some basic lighting equipment like softbox lights or LED panels to ensure consistent lighting, regardless of the time of day.
Final Thoughts
Setting up a makeshift studio in your home doesn’t have to be expensive or complicated. With a little creativity and some basic equipment, you can create a space that greatly enhances the quality of your videos. Whether you’re filming vlogs, tutorials, or any other content, a dedicated studio space can help you produce videos that stand out and attract more viewers.
This guide aims to empower video creators to make the most of their home environment, turning it into a productive studio space. By focusing on essential aspects like space selection, backdrop design, sound quality, and lighting, you can create an inviting and effective studio that supports your creative endeavors.


