Lighting can transform the quality of your video production, turning amateur footage into cinematic-quality visuals. However, professional lighting equipment can be expensive. Fortunately, with a few DIY lighting setups for video production using budget-friendly equipment and some creativity, you can achieve professional-looking results within your budget. This post will introduce you to the basics of effective lighting on a budget, including three-point lighting, utilising natural light, and innovative DIY hacks.

Mastering Three-Point Lighting with Affordable Gear
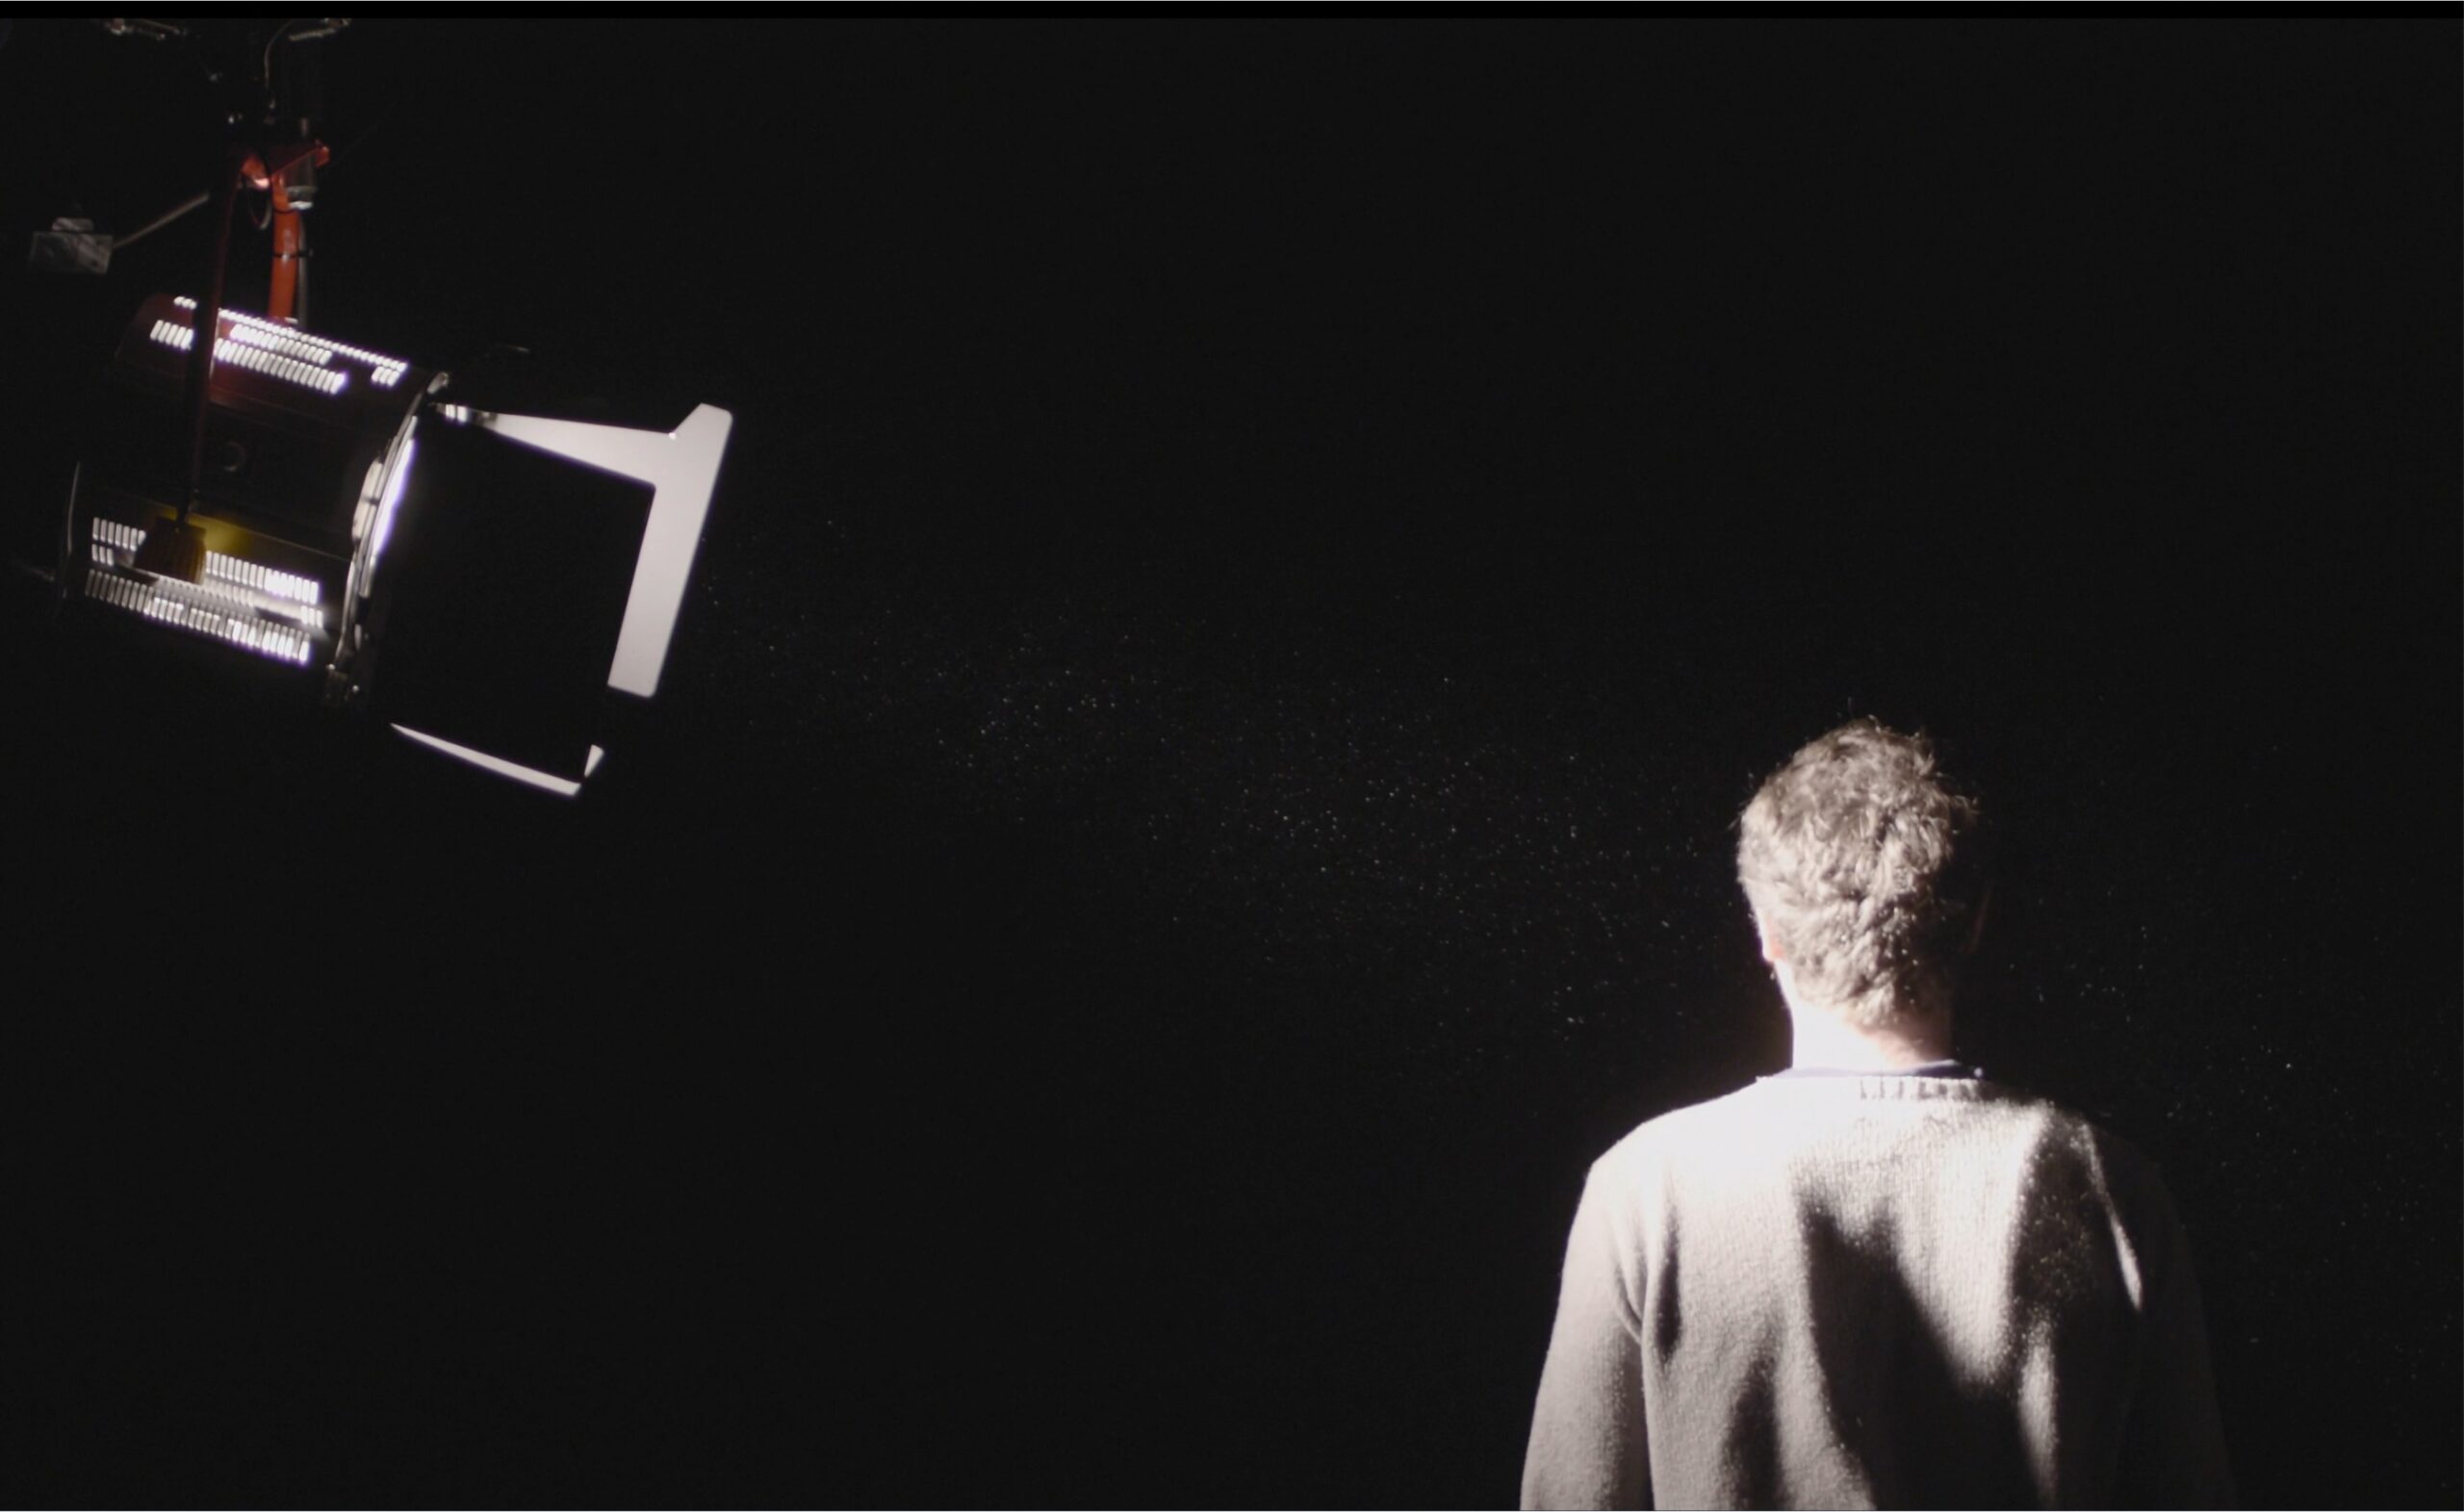
Three-point lighting is a fundamental setup that involves three light sources: the key light, fill light, and back light. This setup creates depth and dimension, reducing unflattering shadows.
- Key Light: Your main light source, positioned at a 45-degree angle to the subject, can be a window or a simple LED panel.
- Fill Light: Use a less intense light or a reflector on the opposite side to soften shadows created by the key light.
- Back Light: A small lamp or another LED panel behind the subject can separate them from the background, adding depth to your shot.
Harnessing Natural Light for a Soft, Natural Look
Natural light is a powerful and free resource for video production. Shooting near a large window can provide a soft, diffused light that flatters the subject. For outdoor shoots, overcast days offer even lighting, while early morning or late afternoon sun provides a warm, golden glow. Position your subject with the sun behind them for a natural backlit effect, using a reflector to brighten shadows on their face.
DIY Lighting Hacks Using Household Items
Get creative with everyday objects to enhance your lighting setup on a budget:
- Bounce Boards: White foam boards or even a sheet of poster board can reflect light onto your subject, acting as an effective fill light.
- DIY Diffuser: Soften harsh lights by placing a white shower curtain or a piece of parchment paper in front of your light source.
- Creative Coloured Lighting: Add colour gels or transparent coloured plastic sheets over your lights for creative effects, or use coloured LED lights for background lighting.

Final Thoughts
With these DIY lighting tips, you can achieve professional-looking video production on a budget. Understanding the principles of lighting and experimenting with different setups and materials can drastically improve the quality of your videos. Remember, the best equipment is the one you have with you; it’s how you use it that counts. Start experimenting with these budget-friendly lighting techniques and elevate your video production game today!
This guide is designed to help content creators and DIY videographers create impactful, high-quality videos by mastering the art of lighting with simple, cost-effective solutions. Lighting is the key to transforming your video’s look and feel, and with a little ingenuity, you can achieve professional results without a professional budget.


