Creating professional product videos doesn’t have to be complicated or expensive. With the right techniques and equipment, you can shoot impressive product videos right from the comfort of your own home. In this guide, we will cover everything you need to know about shooting product videos, from optimising lighting to camera setup and video editing. Whether you’re a DIY enthusiast or a small business owner looking to promote your products, these tips on how to shoot a product video at home will help you create captivating videos that showcase your products in the best light.
Key Takeaways:
- Optimising lighting is crucial for high-quality product videos.
- Declutter and clean your filming space for a professional look.
- Choose the right lighting type and understand different lighting schemes.
- Consider your camera setup, from smartphones to cinema cameras.
- Utilise natural light and bounce cards for budget-friendly lighting techniques.

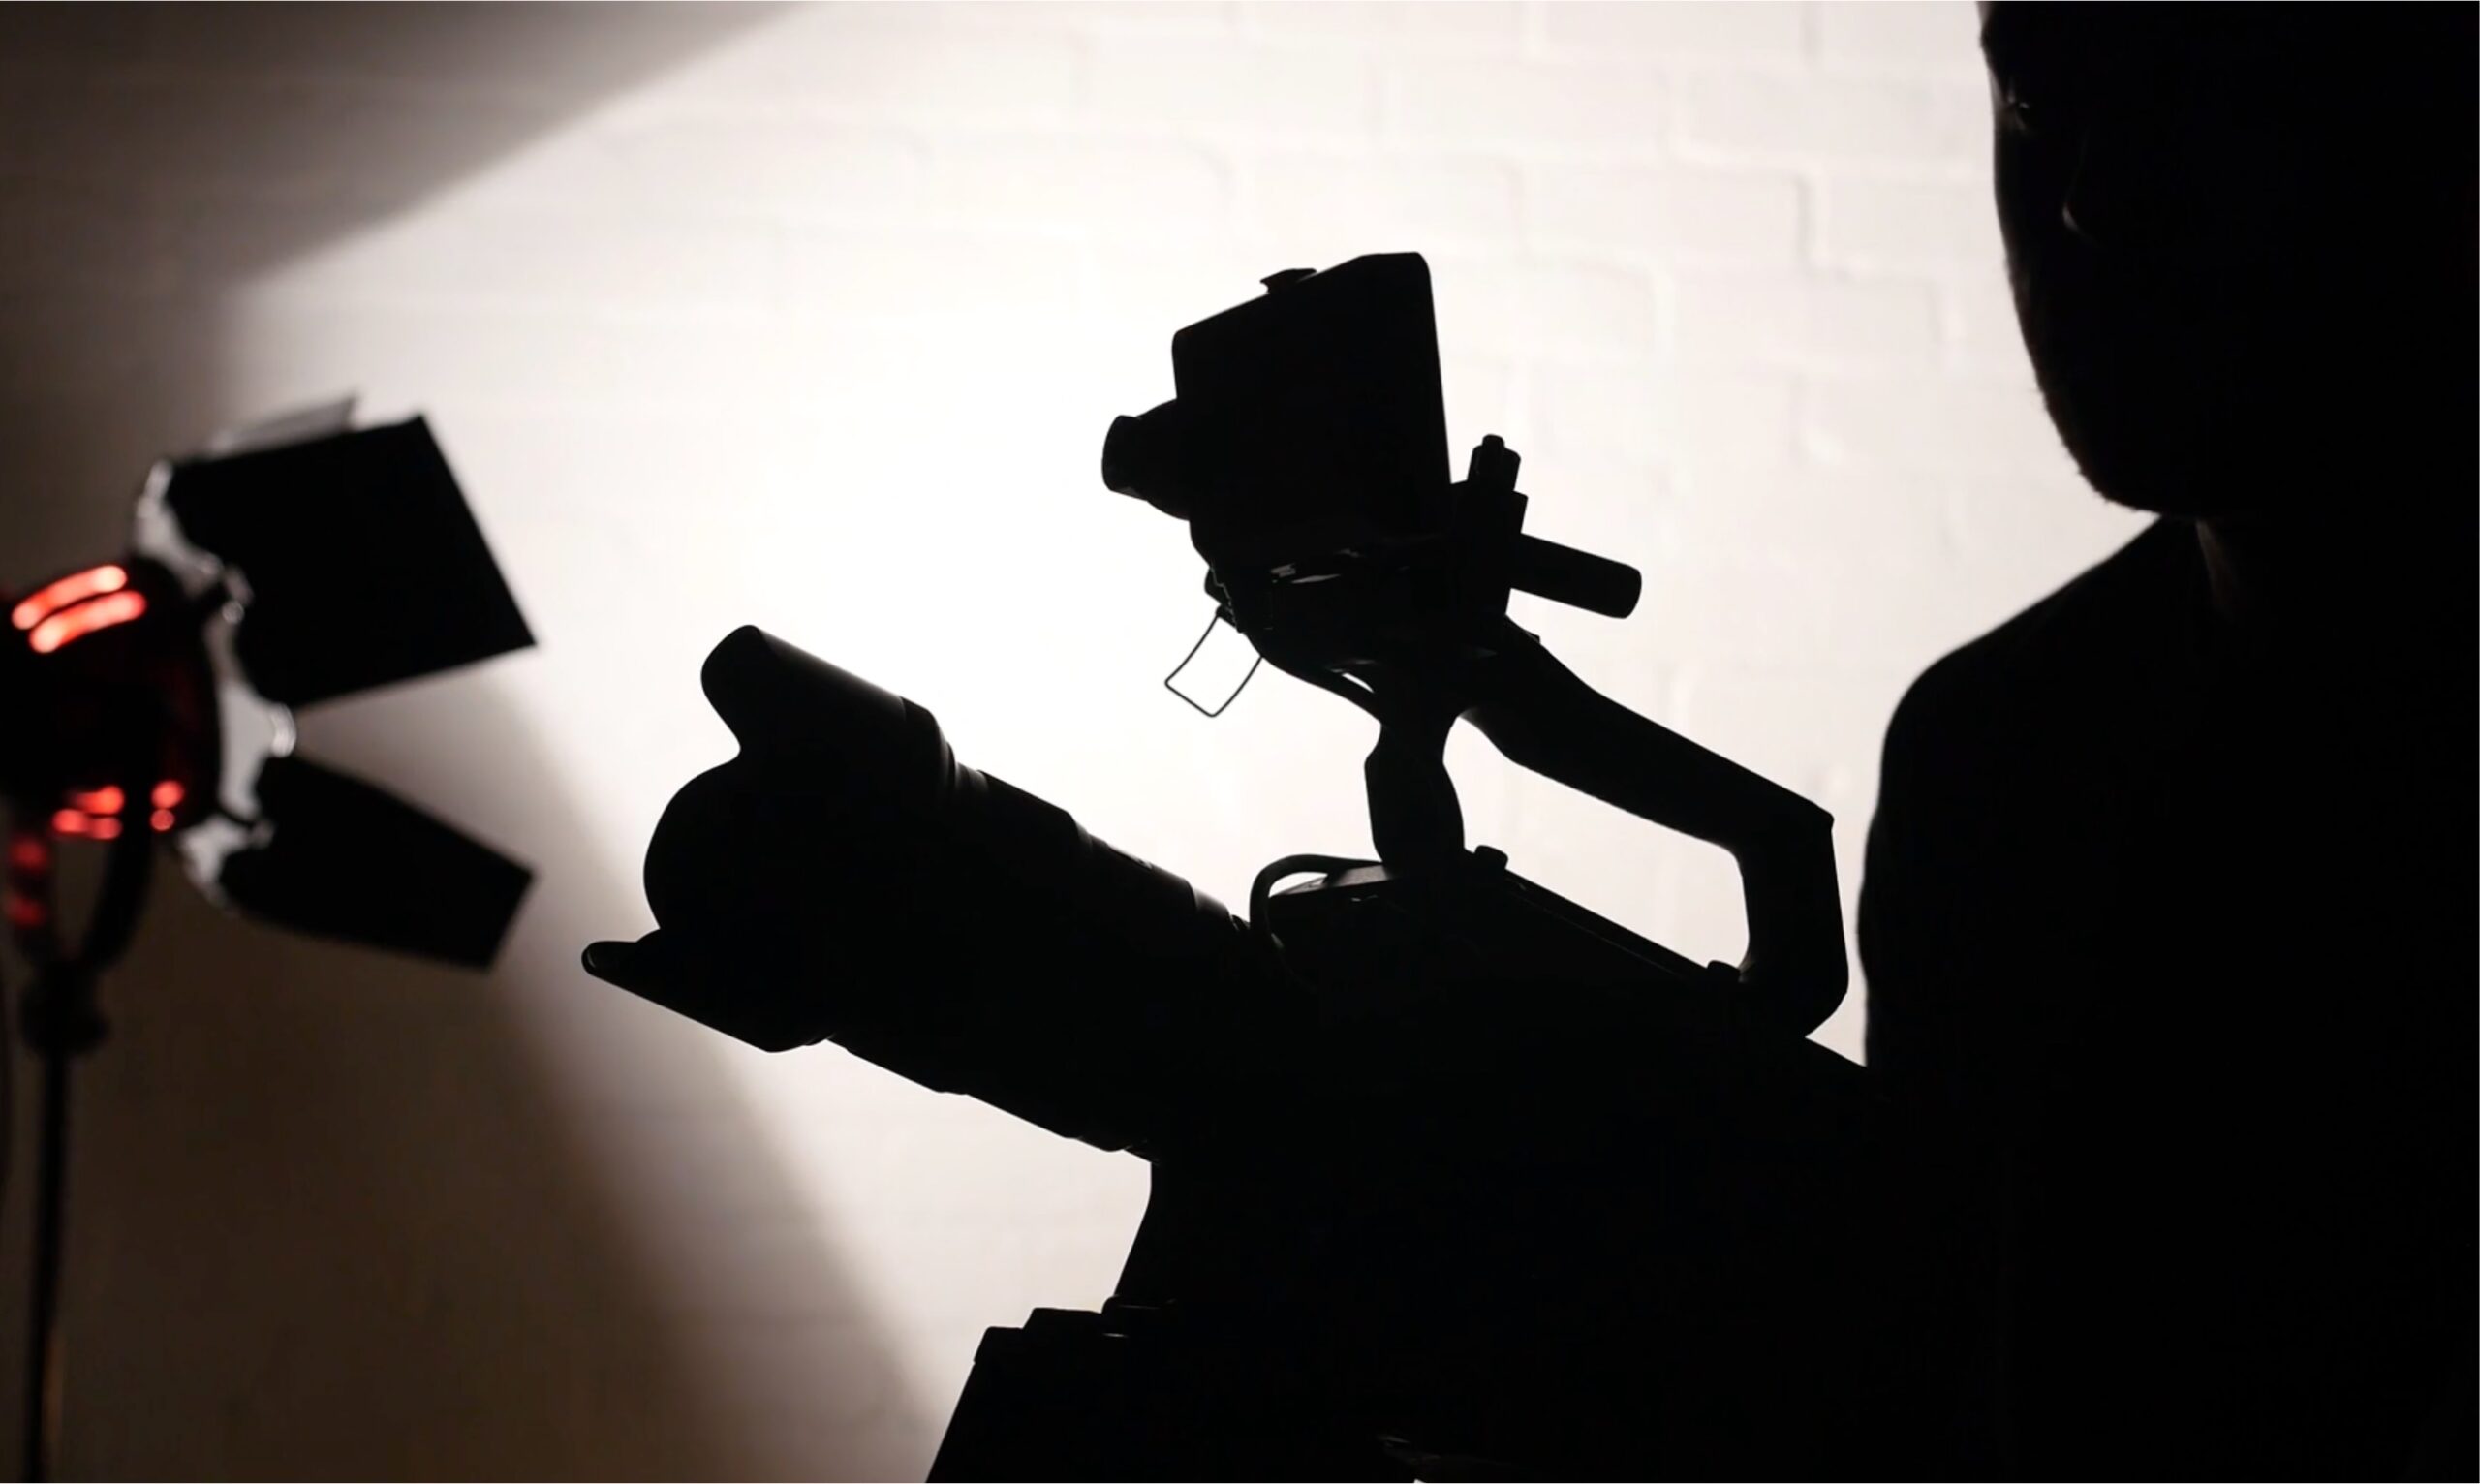
Camera Setup for Product Videos
When it comes to shooting professional product videos at home, having the right camera setup is crucial. While you don’t necessarily need an expensive camera, having better gear can provide more control and creative options to enhance the visual impact of your videos.
If you’re using a smartphone, make sure to have a recent model that offers good video quality. Smartphones like the latest iPhone or Samsung Galaxy models can produce impressive results. For action or outdoor video shoots, a reliable choice is the GoPro camera, known for its durability and wide-angle capabilities.
For those aiming for professional-grade videos, investing in cinema cameras can take your product videos to the next level. The Blackmagic Pocket Cinema Camera 6K Pro and the Lumix GH6 are popular choices among videographers. These cinema cameras offer advanced features, including high-resolution footage and manual control options, allowing you to have more creative control over your product videos.
In addition to the camera itself, using lenses specifically designed for product photography can greatly enhance the visual quality of your videos. For smartphones, Moment’s lenses are highly recommended, offering a range of options such as wide-angle, macro, and telephoto lenses. For mirrorless cameras or DSLRs, there is a wide variety of lenses available that cater to different shooting styles and focal lengths. Choosing the right lens can help you achieve the desired visual effect and showcase your products in the best possible way.
By investing in the right camera setup and choosing the appropriate lenses, you can create professional-looking product videos that capture the attention of your audience.
Lighting Techniques for Product Videos
When shooting product videos on a budget, effective lighting techniques can make a significant difference in the final quality of your footage. Even with a minimal home studio setup, you can achieve professional-looking results by utilising a few simple techniques. One of the most cost-effective and accessible options is to utilise natural window light combined with bounce cards made of foam boards.
To maximise the use of natural light, set up your filming table near a window. Position your product to receive the best lighting and use white bounce cards on the opposite side to reflect light into any shadows. These bounce cards help create a more balanced and diffused lighting effect, resulting in clearer and more engaging product visuals.
Another essential aspect of lighting for product videos is stability. To ensure your footage is stable and free of unwanted movement, use a tripod. This will help eliminate any shaky footage and allow you to focus on capturing the best angles and features of your product. Additionally, shooting with a small aperture to achieve a larger depth of field can ensure that your product remains in sharp focus throughout the video.
Lighting Techniques for Product Videos Summary
- Utilise natural window light combined with bounce cards for cost-effective lighting.
- Set up your filming table near a window and position your product for optimal lighting.
- Use white bounce cards to reflect light into shadows and create a balanced lighting effect.
- Ensure stability by using a tripod to eliminate shaky footage.
- Shoot with a small aperture for a larger depth of field and sharper product visuals.
By following these lighting techniques, even with limited equipment, you can create impressive product videos that showcase your products in the best possible light.
| Lighting Technique | Advantages |
|---|---|
| Utilising natural window light | Cost-effective and accessible |
| Using bounce cards | Creates balanced lighting and eliminates shadows |
| Using a tripod | Ensures stability and eliminates shaky footage |
| Shooting with a small aperture | Creates a larger depth of field and sharper visuals |
Video Editing for Product Videos
Once you have captured the footage for your product videos, the next step is video editing. This is where you can refine your raw footage and add those finishing touches that make your videos stand out. Video editing allows you to select the best shots, trim unnecessary parts, and enhance the overall visual and audio quality of your product videos.
There are several video editing software options available, but one popular choice is Camtasia. With its user-friendly interface and powerful features, it provides a seamless editing experience. You can easily import your footage, arrange it on a timeline, and make precise cuts and adjustments. Camtasia also offers a variety of tools for adding transitions, effects, and text overlays to enhance the visual appeal of your videos.
Color correction and audio adjustments are essential aspects of video editing. With Camtasia, you can easily adjust the brightness, contrast, and saturation of your footage to ensure that your products are showcased in the best possible light. Additionally, you can fine-tune the audio levels, remove background noise, or add background music or voiceovers to enhance the overall audio quality of your product videos.
Key Features of Camtasia:
- User-friendly interface for easy navigation and editing
- Precise video and audio editing tools
- Transitions, effects, and text overlays to enhance visual appeal
- Color correction and audio adjustments for professional-quality videos
- Export options for various platforms and formats
Experimenting with different editing techniques can make your product videos more engaging and professional. Consider adding text overlays to highlight key features or specifications of your products. Include music or voiceovers to create a captivating atmosphere or to explain the unique selling points of your products. The goal is to create a visually appealing and informative video that resonates with your target audience.
Table: Video Editing Software Comparison
| Software | Key Features | Price |
|---|---|---|
| Camtasia | User-friendly interface, precise editing tools, transitions, effects, text overlays, color correction, audio adjustments | $249 (one-time purchase) |
| Adobe Premiere Pro | Advanced editing tools, professional-grade effects, color grading, audio editing, multi-camera editing | $20.99/month (subscription) |
| iMovie (Mac) | Simplified interface, basic editing tools, transitions, effects, audio adjustments | Free (pre-installed on Mac devices) |
| HitFilm Express | Advanced editing tools, visual effects, compositing, color grading, audio editing | Free (with optional add-ons) |
Remember, the editing process is where the magic happens. Take the time to fine-tune your product videos, adding those special touches that make them professional and compelling. With the right video editing software and a creative mindset, you can transform your raw footage into polished product videos that leave a lasting impression on your audience.
Conclusion
By following the tips and techniques outlined in this guide, you can learn how to shoot professional product videos at home. Optimising the lighting in your filming space, choosing the right camera setup, utilising effective lighting techniques, and mastering video editing skills can help you create high-quality product videos that engage and captivate your audience. Whether you’re a beginner or on a budget, with the right approach and a little practice, anyone can create impressive product videos from the comfort of their own home.
Creating DIY product videos allows you to showcase your products in a professional manner without needing a large production budget. By implementing the lighting techniques discussed, you can easily manipulate natural light sources and inexpensive equipment to achieve excellent results. The camera setup you choose will depend on your specific needs and budget, but remember that good quality footage is essential for impactful product videos. Finally, video editing plays a vital role in enhancing your videos by fine-tuning the visuals, adding effects, and optimising the overall presentation.
With the increasing demand for online shopping, product videos have become an effective tool for businesses to showcase their offerings. Whether you’re a small business owner, a content creator, or an entrepreneur, mastering the art of shooting product videos at home can give you a competitive edge. By carefully following the steps outlined in this guide, you now have the knowledge and techniques to create professional-looking product videos that will impress your audience and increase your online visibility. So, grab your camera, set up your lighting, and let your creativity shine through in your DIY product videos!
FAQ
Is professional lighting necessary for shooting product videos at home?
Professional lighting can significantly enhance the quality of your product videos. However, there are techniques and budget-friendly options available to achieve good lighting at home.
What are some effective lighting techniques for shooting product videos on a budget?
Utilising natural window light combined with bounce cards made of foam boards can be highly effective. Setting up a table near a window and using white bounce cards to reflect light into shadows can enhance the lighting quality.
Do I need an expensive camera to shoot professional product videos?
While you don’t need an expensive camera, having better gear can provide more control and creative options. Using a recent model smartphone with good video quality or investing in a camera specifically designed for video recording can yield impressive results.
What should I consider when choosing a camera setup for product videos?
Consider the video quality, stability, and flexibility of the camera. Smartphones or action cameras like GoPro can be suitable for certain types of product videos, while cinema cameras or mirrorless cameras offer more professional-grade capabilities.
How can video editing enhance my product videos?
Video editing allows you to select the best shots, remove unnecessary parts, add transitions or effects, and adjust the color and audio. It can help refine and enhance the overall visual appeal and storytelling of your product videos.


